Short answer: Running ComfyUI remotely means ComfyUI still runs on a Windows machine with a dedicated GPU — just one in a data center instead of under your desk. The easiest and most secure way to do this is remote desktop: connect to the cloud PC, open ComfyUI in its local browser, and work as if you were sitting in front of it. Avoid exposing ComfyUI to the public internet without proper authentication — it's a powerful local application, not something to leave unprotected.
A local laptop can handle ComfyUI until it can't. Large checkpoints, ControlNet, upscalers, video nodes, and higher-resolution batches quickly expose the limits of integrated graphics, limited RAM, and a hot, noisy machine. Learning how to run ComfyUI remotely gives you another option: keep the demanding work on a Windows cloud PC with a dedicated GPU, then control it from the device you already own.
This isn't about turning ComfyUI into a complicated server project. For most creators and AI developers, the practical goal is simpler: a persistent Windows desktop, GPU access for generation, and a reliable way to return to the same workflows, models, and output folders from a laptop, Mac, or desktop.
What Running ComfyUI Remotely Actually Means
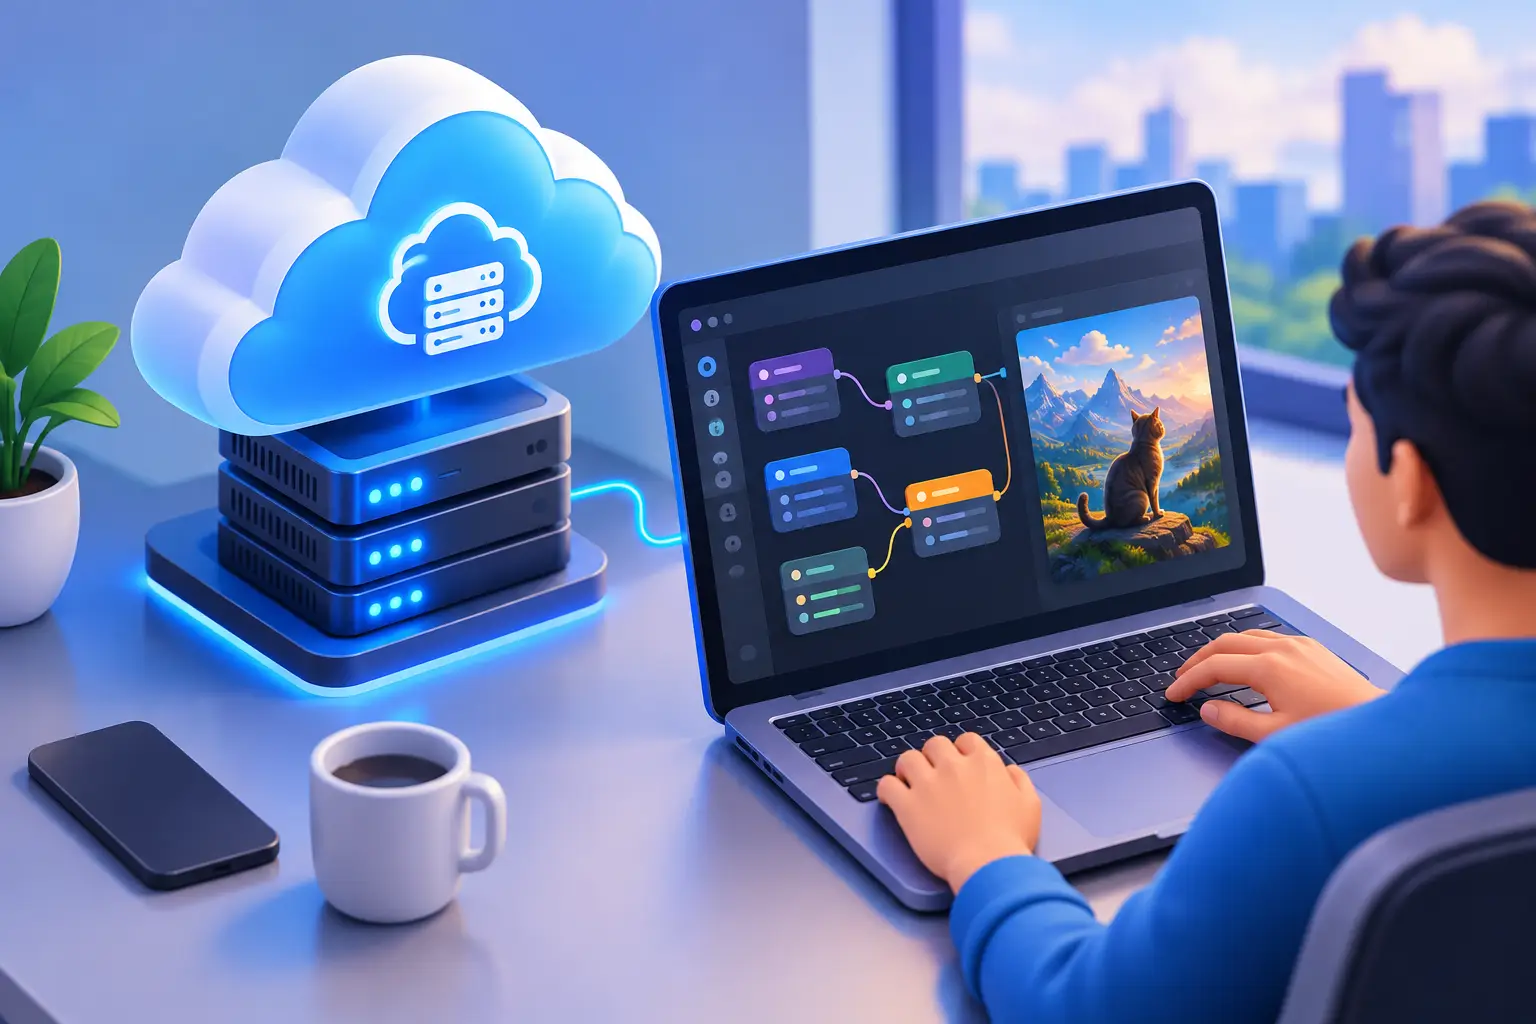
ComfyUI is a node-based interface for Stable Diffusion and related image-generation workflows. It runs locally on the computer where it's installed. When you run it remotely, ComfyUI still runs on that Windows machine, not on your lightweight laptop — you simply access and control that machine over the internet.
There are two common ways to do this. The first is remote desktop access: you connect to the cloud PC, open ComfyUI in its local browser, and work as if you were sitting in front of it. This is usually the best starting point because setup is straightforward and ComfyUI doesn't need to be publicly exposed.
The second is browser-based access to ComfyUI through a network address, useful when you want the ComfyUI interface directly from your local browser. It also requires more care — you need to understand network access, authentication, and security before making a local web service reachable from the public internet.
For most people, start with remote desktop. It's the lower-friction path and keeps the full Windows environment available for model managers, Git updates, Python troubleshooting, and file organization.
Cloud PC vs. Raw Cloud GPU Rental
Worth distinguishing up front: when people search for a "cloud GPU for ComfyUI," results often point toward raw GPU-rental marketplaces where you configure your own Linux environment and manage ComfyUI as a server process. That's a legitimate approach for technical users who want maximum control and don't mind the administration overhead.
A persistent Windows cloud PC is a different category — you get a full desktop environment (not just a GPU allocation), with a familiar file system, GUI tools, and the ability to use ComfyUI's browser interface exactly as you would locally, without configuring a server from scratch. Which one fits depends on whether you want to manage infrastructure or just want to open a desktop and work.
Choose a Remote PC With the Right Resources
ComfyUI performance depends on more than a GPU name. VRAM capacity affects which models and workflows fit comfortably. System RAM matters when loading large models or handling many files. Persistent SSD storage matters because model libraries can grow fast.
A dedicated NVIDIA GPU is the practical choice for most ComfyUI workflows because the common Stable Diffusion and PyTorch toolchains are built around CUDA. If you plan to use SDXL, Flux-based workflows, multiple ControlNets, high-resolution generation, or video-related nodes, leave room beyond the smallest configuration — a setup that works for basic text-to-image generation may feel restrictive once your workflow becomes more ambitious.
Storage is easy to underestimate. A few checkpoints, VAEs, LoRAs, ControlNet models, custom nodes, and output images can consume hundreds of gigabytes over time. Choose a cloud PC with persistent storage so your environment is still there when you reconnect — reinstalling ComfyUI and re-downloading model files every session defeats the point of remote access.
SensePC is one example of a cloud PC approach: you can use a full Windows 11 desktop with dedicated NVIDIA L4 GPU options and persistent SSD storage, then connect from the hardware you already have. See sizing VRAM for local AI model work if you're not sure what tier your workflow actually needs. It makes sense for users who need GPU power periodically, don't want to buy a workstation upfront, or need access to the same Windows AI environment from more than one computer.
Set Up ComfyUI on the Remote Windows PC
Once your cloud PC is ready, connect through its supported desktop client or browser-based desktop option. Treat this first session like setting up a real workstation. Run updates where needed, confirm the NVIDIA driver is working, and organize your storage before filling the desktop with downloads.
Install the Core Tools
ComfyUI can be installed through a packaged Windows release or through a Python and Git-based setup. The packaged route is often easier for newcomers. A Python environment gives experienced users more control over versions, dependencies, and updates.
Whichever route you choose, launch ComfyUI once and confirm that it detects the GPU. A workflow that reports CUDA errors, runs only on the CPU, or fails while loading a model usually points to a driver, PyTorch, dependency, or VRAM issue — solve that foundation first. Adding more custom nodes won't fix a broken GPU environment. See running CUDA-based tools on a cloud desktop for more on this layer specifically.
Create a clear folder structure early. Keep checkpoints, LoRAs, VAEs, ControlNet files, custom nodes, workflow JSON files, and outputs organized. ComfyUI can reference external model directories, but simple, predictable paths are easier to maintain on a persistent remote PC.
Add Models and Workflows Carefully
Start with one known working checkpoint and a basic text-to-image workflow. Generate a few images before installing a large stack of custom nodes — this lets you confirm the GPU is active, the model path is correct, and the output folder is writable.
Then add the components your work actually needs. If you use ControlNet, install the matching preprocessors and models. If you use custom nodes, read their dependency requirements before installing them — some nodes require additional Python packages, specific model files, or versions that may conflict with other tools.
Keep copies of your working workflow files. A ComfyUI graph is more than a visual setup — it records the model choices, prompts, sampler settings, image inputs, and node connections behind a result. Saving workflows makes it far easier to return to a project or reproduce a good generation later.
Running ComfyUI Headless or From the Command Line
Most of this guide assumes remote desktop access, which is the simplest and most secure starting point. But ComfyUI can also run headless — as a local HTTP server launched with python main.py and command-line arguments — without opening its browser GUI, accepting workflows submitted from scripts. This matters if your use case is automation rather than interactive node editing.
A cloud PC supports this too: you can launch ComfyUI from the command line inside your remote Windows session the same way you would locally. The security guidance below still applies — a headless instance is not automatically safer, and the same rules about not exposing it publicly without authentication hold just as much for a CLI-launched server as for the GUI.
Access ComfyUI Without Exposing It Publicly
With remote desktop access, open the browser inside the cloud PC and use ComfyUI on its local address. You get the familiar interface without opening firewall ports or sharing a public URL. Your local device is mainly viewing and controlling the remote desktop, while the cloud PC handles the generation workload.
This method has another advantage: uploads and outputs stay in the same remote environment. You can download finished images when needed, but you don't have to move every model and source file back and forth between devices.
If you want direct browser access from your own computer, do not simply bind ComfyUI to a public address and leave it open. ComfyUI is a powerful local application, often with file access and custom code extensions. A publicly reachable instance without proper protection can create a real security problem.
Use a private networking method, authenticated access layer, or other security controls that you understand and can maintain. If that sounds like more infrastructure than you want to manage, remote desktop is the better choice. Fast access is useful. Unprotected access is not. See what actually protects a remote Windows session for the broader security picture.
Make the Remote Workflow Feel Responsive
Remote ComfyUI use has two different performance factors. Generation speed depends mostly on the cloud PC's GPU, available VRAM, model, resolution, and workflow complexity. Interface responsiveness depends on your internet connection, distance from the cloud PC, remote desktop settings, and the device you're connecting from.
A high-quality connection helps, especially when you're moving around detailed node graphs or reviewing generated images. Wired Ethernet is ideal when available. Strong Wi-Fi can also work well. If the remote desktop feels slow, reduce display resolution or visual quality settings before assuming the GPU is the problem.
You can also reduce friction by keeping a few practical habits. Save large downloads directly to the remote PC. Keep models on persistent storage. Archive old output batches instead of leaving every experiment in one folder. Use a separate folder for models you're testing, so an unfinished experiment doesn't clutter the workflow you rely on.
Know When a Cloud PC Is the Better Fit
A remote GPU machine isn't automatically the best option for every ComfyUI user. If you generate images every day, need very low-latency interaction, and already own a powerful desktop, running ComfyUI locally may be the simpler long-term choice — you control the hardware and don't depend on an internet connection.
A cloud PC is often more practical when your local computer is a Mac, a thin laptop, or an older desktop that can't handle CUDA workloads. It can also be a good fit for students, developers testing AI tools, creators with occasional heavy workloads, and people who want to avoid buying, maintaining, and upgrading a GPU workstation for projects that come and go. See the full rent-vs-buy cost breakdown for the numbers side of this, and a worked example of testing an AI workflow before committing to it if you're still deciding whether this is worth setting up at all.
No expensive workstation purchase for a short project. No waiting for a local GPU upgrade. But there's a trade-off: your experience depends on connection quality, location, and how often you use the machine. Compare the ongoing usage cost with the cost of hardware ownership based on your real schedule, not the excitement of a new tool.
The best remote ComfyUI setup is the one you can return to without rebuilding it. Start with a persistent Windows cloud PC, confirm one simple workflow, keep the service private, and add complexity only when your projects demand it. That gives you room to create now while keeping your next hardware decision flexible.
How much VRAM do I need to run ComfyUI in the cloud?
It depends on your workflow, not a fixed number. Basic text-to-image generation needs less than SDXL, Flux-based workflows, multiple ControlNets, high-resolution output, or video nodes. Choose a GPU tier with room beyond your current workflow rather than the smallest configuration that technically runs it — ambitious projects tend to grow into more VRAM, not less.
Should I rent a raw cloud GPU or use a Windows cloud PC for ComfyUI?
It depends on how much infrastructure you want to manage. A raw GPU rental gives more control but requires configuring your own environment, typically on Linux, and managing ComfyUI as a server process yourself. A Windows cloud PC gives you a full desktop with the familiar ComfyUI browser interface and persistent storage, closer to using your own computer, with less setup overhead.
Can I run ComfyUI headless or from the command line on a cloud PC?
Yes. ComfyUI can run as a local HTTP server via python main.py and command-line arguments, without opening the browser GUI, accepting workflows submitted from scripts. This works the same way on a cloud PC's remote Windows session as it would locally — useful for automation, though most users are better served starting with the remote desktop GUI approach.
ComfyUI says it can't detect my GPU or only runs on CPU — what's wrong?
This usually points to a driver, PyTorch, or dependency mismatch rather than a hardware problem. Confirm the NVIDIA driver is working on the remote PC first, then verify your Python/PyTorch installation matches your CUDA version. Adding more custom nodes won't fix a broken GPU environment — solve this foundation before building out your workflow.
Is it safe to expose ComfyUI's web interface to the public internet?
Not without real precautions. ComfyUI is a powerful local application, often with file access and custom code extensions, so a publicly reachable instance without authentication is a genuine security risk. Remote desktop access avoids this entirely by keeping ComfyUI on its local address inside the cloud PC. If you need direct browser access from your own device, use a private networking method or authenticated access layer you understand and can maintain.