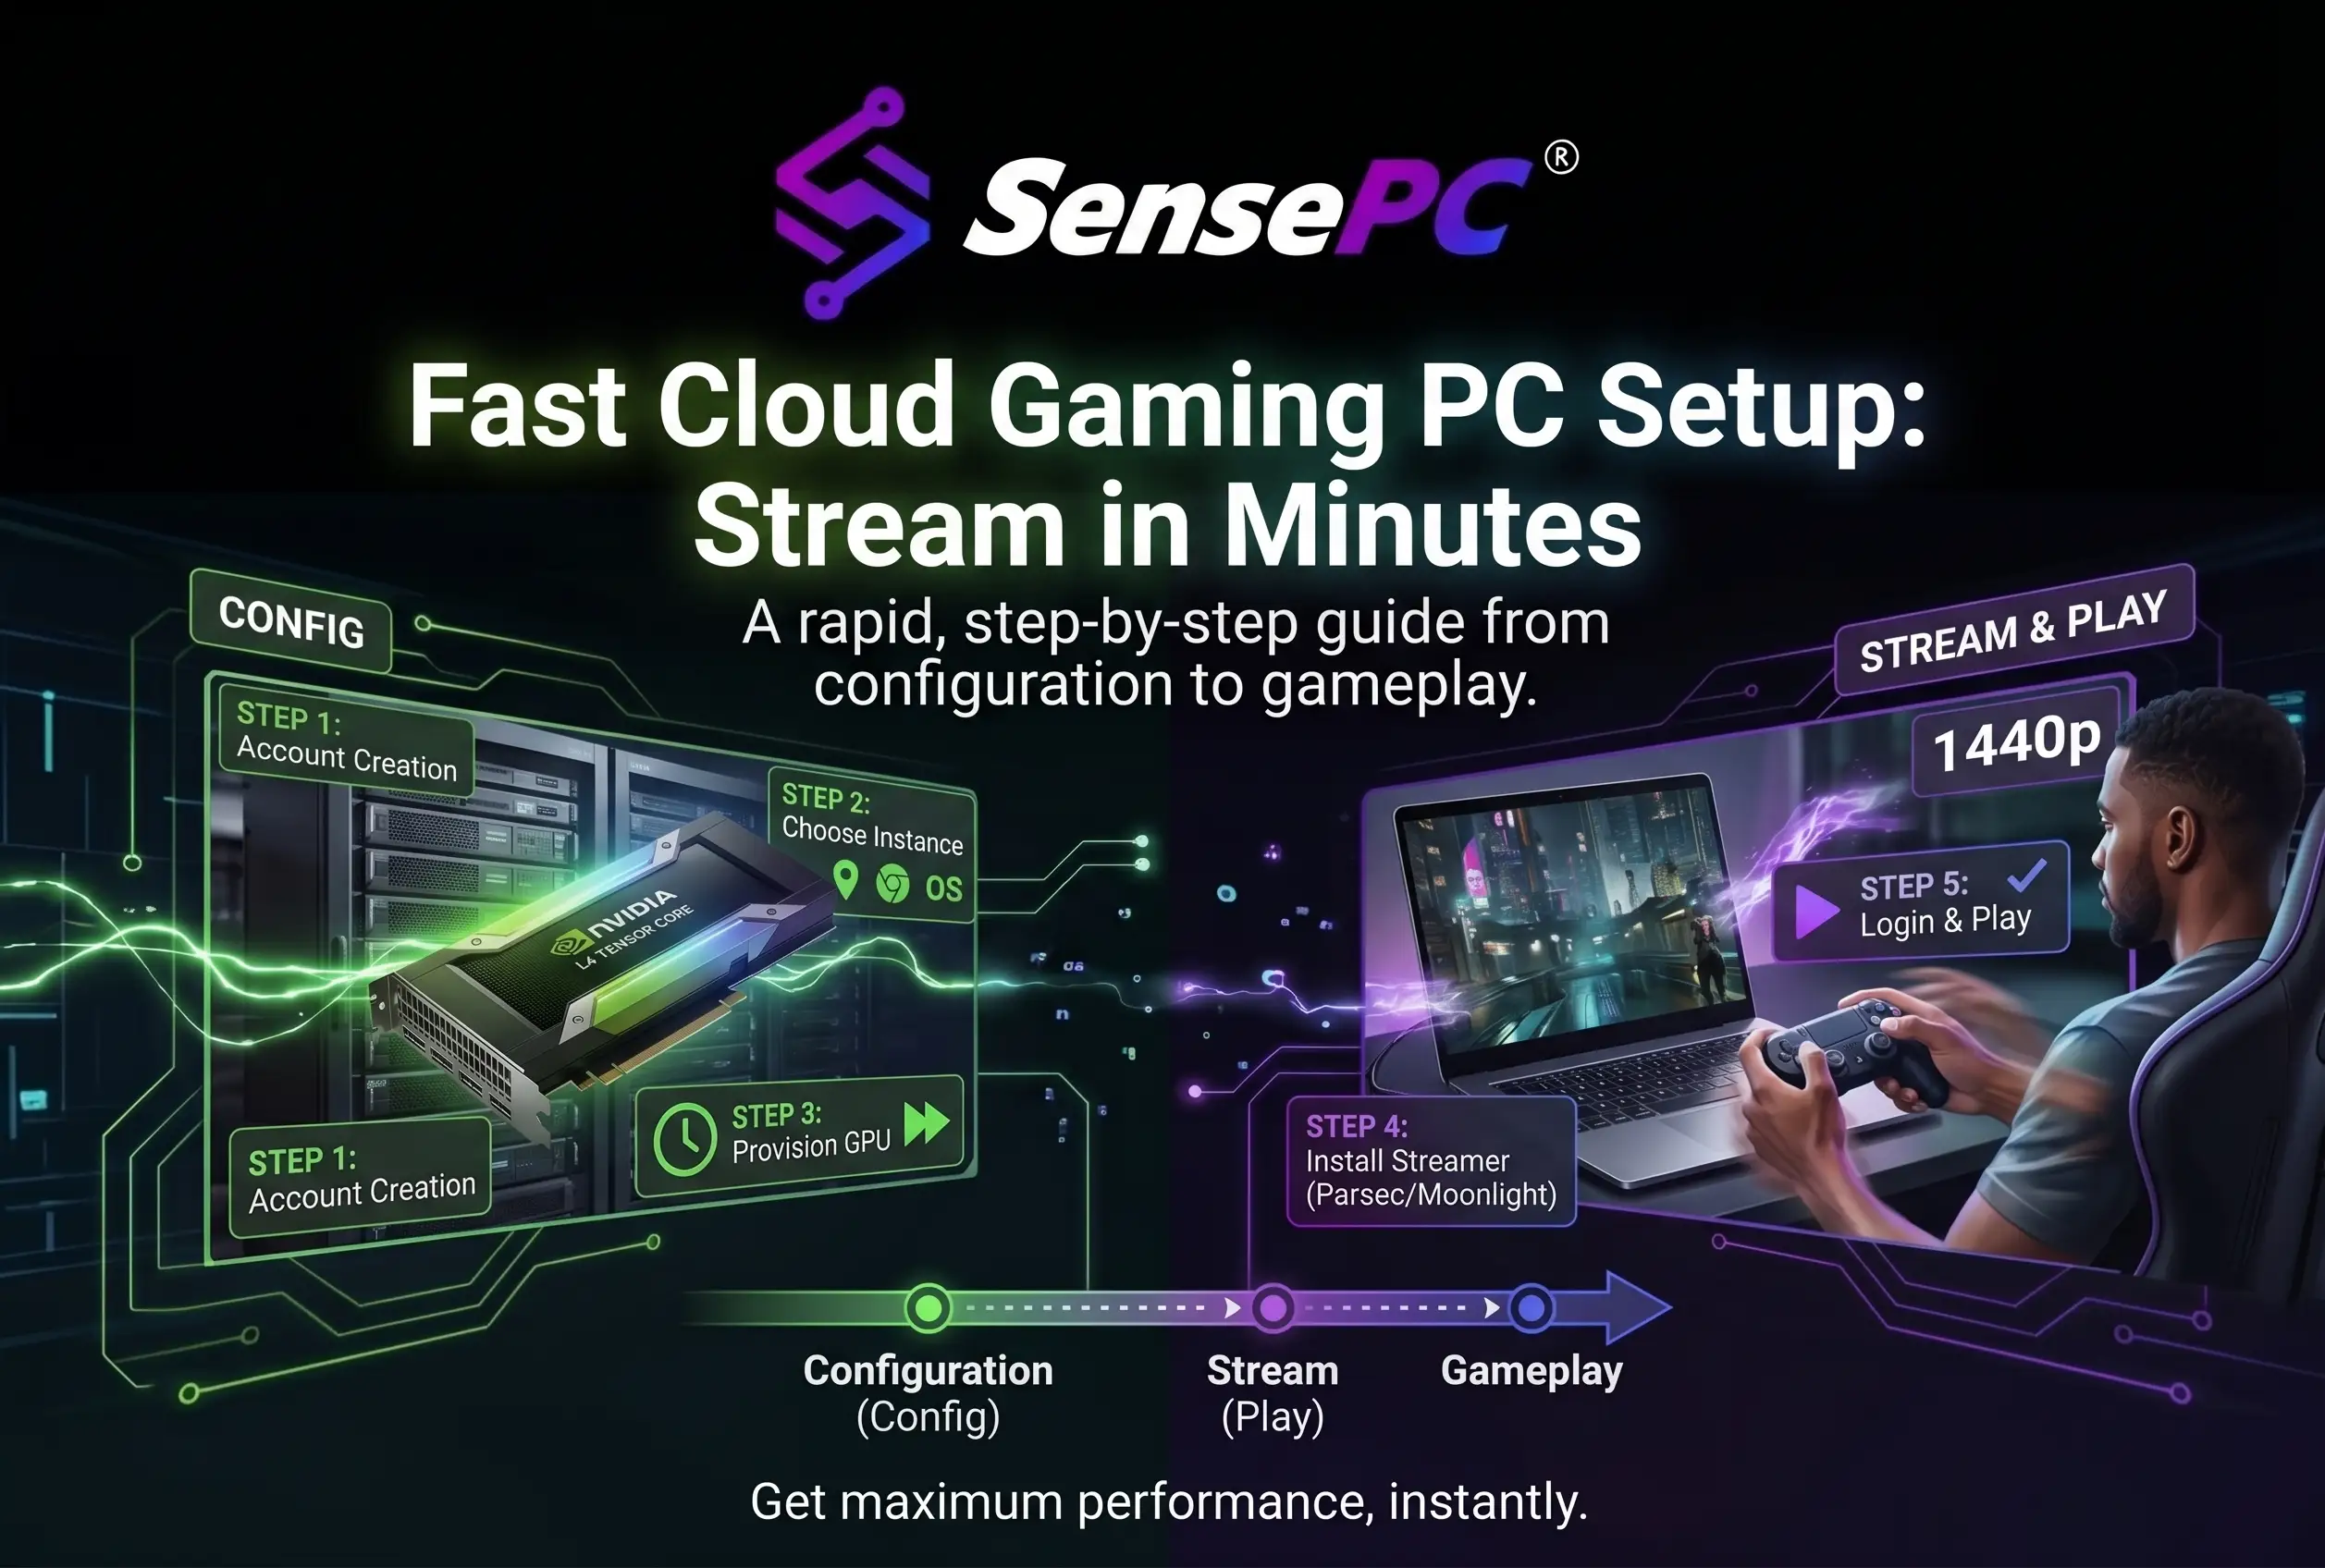
Short answer: Pick a performance tier that matches your games, use a wired or strong 5 GHz/Wi-Fi 6 connection, provision the machine (a few minutes on a gaming-first platform), switch to the low-latency streaming mode, install your launchers, and tune in-game settings for frame rate over visual extras. Most people have a PC running in under 10 minutes.
You don't need to spend $2,000 on a tower, hunt for a GPU, or wait through another upgrade cycle to play modern PC games properly. Setting up a cloud gaming PC means getting a high-performance Windows machine online fast, tuning it for low latency, and making sure it fits how you actually play.
What Is a Cloud Gaming PC?
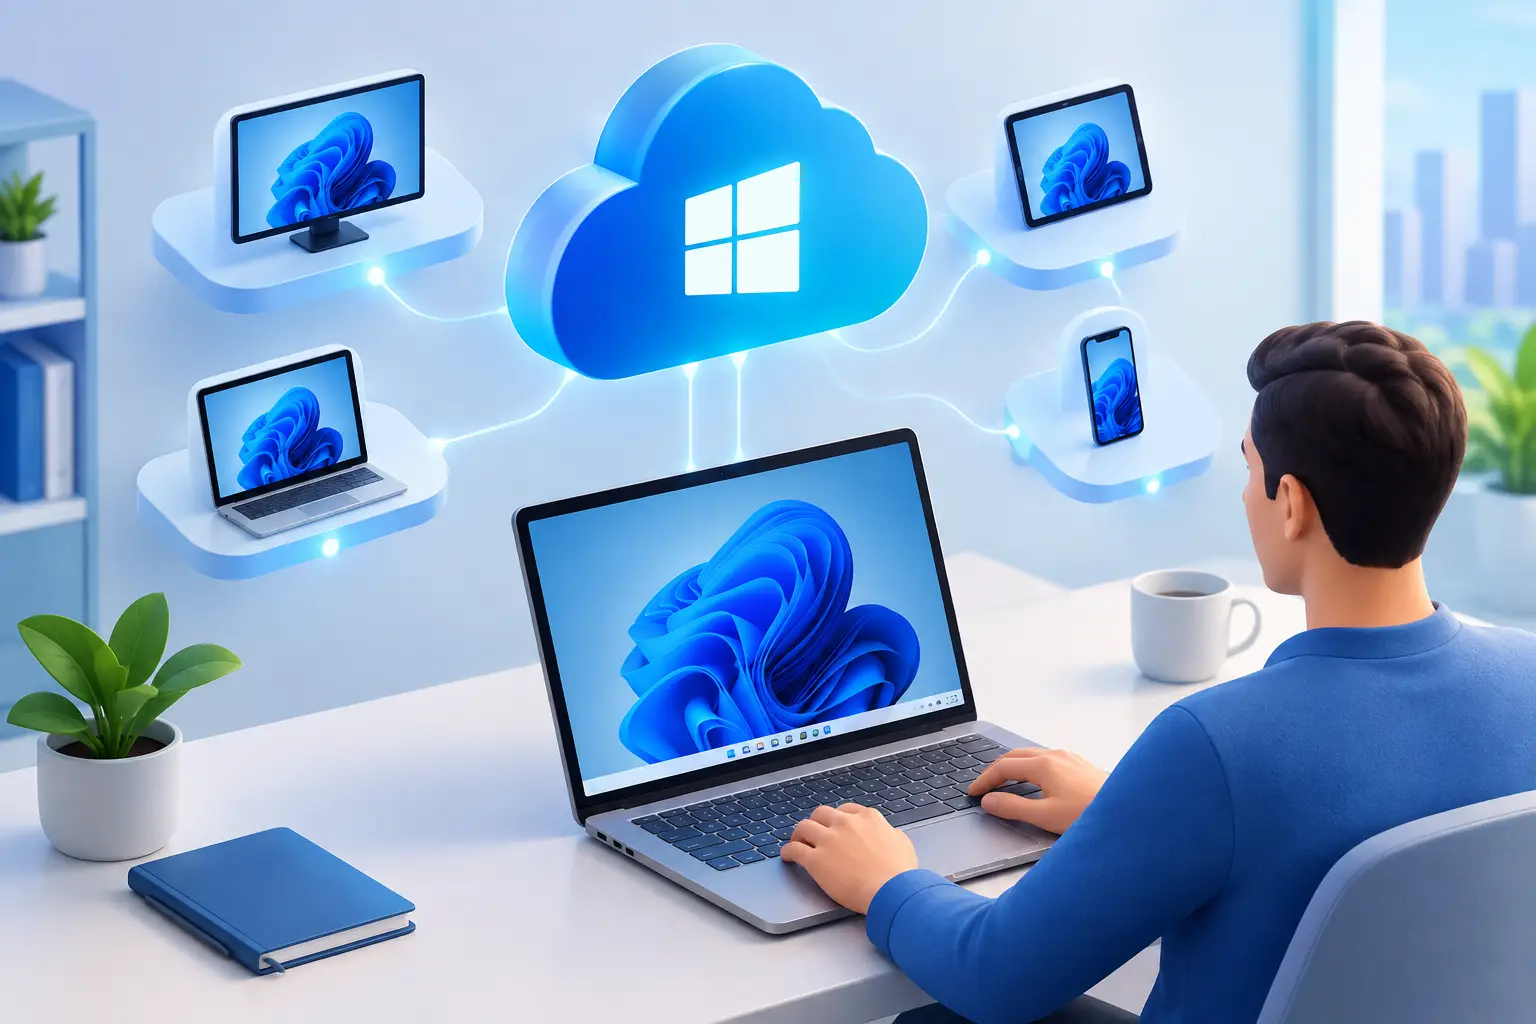
A cloud gaming PC is a Windows gaming machine running in a data center instead of under your desk. You stream the desktop to your laptop, Mac, office PC, or thin client, then play using that remote hardware — no expensive gaming rig, no hardware maintenance, no upgrade cycle.
Setup is simpler than most people expect. You're not building a server stack or configuring enterprise VDI. A gaming-first service gives you a ready-to-use Windows Cloud PC vs Virtual Desktop with dedicated GPU access, persistent storage, and a low-latency streaming client. Your job is to choose the right machine, connect cleanly, install your launchers, and adjust a few settings.
Cloud Gaming PC Setup: Step by Step
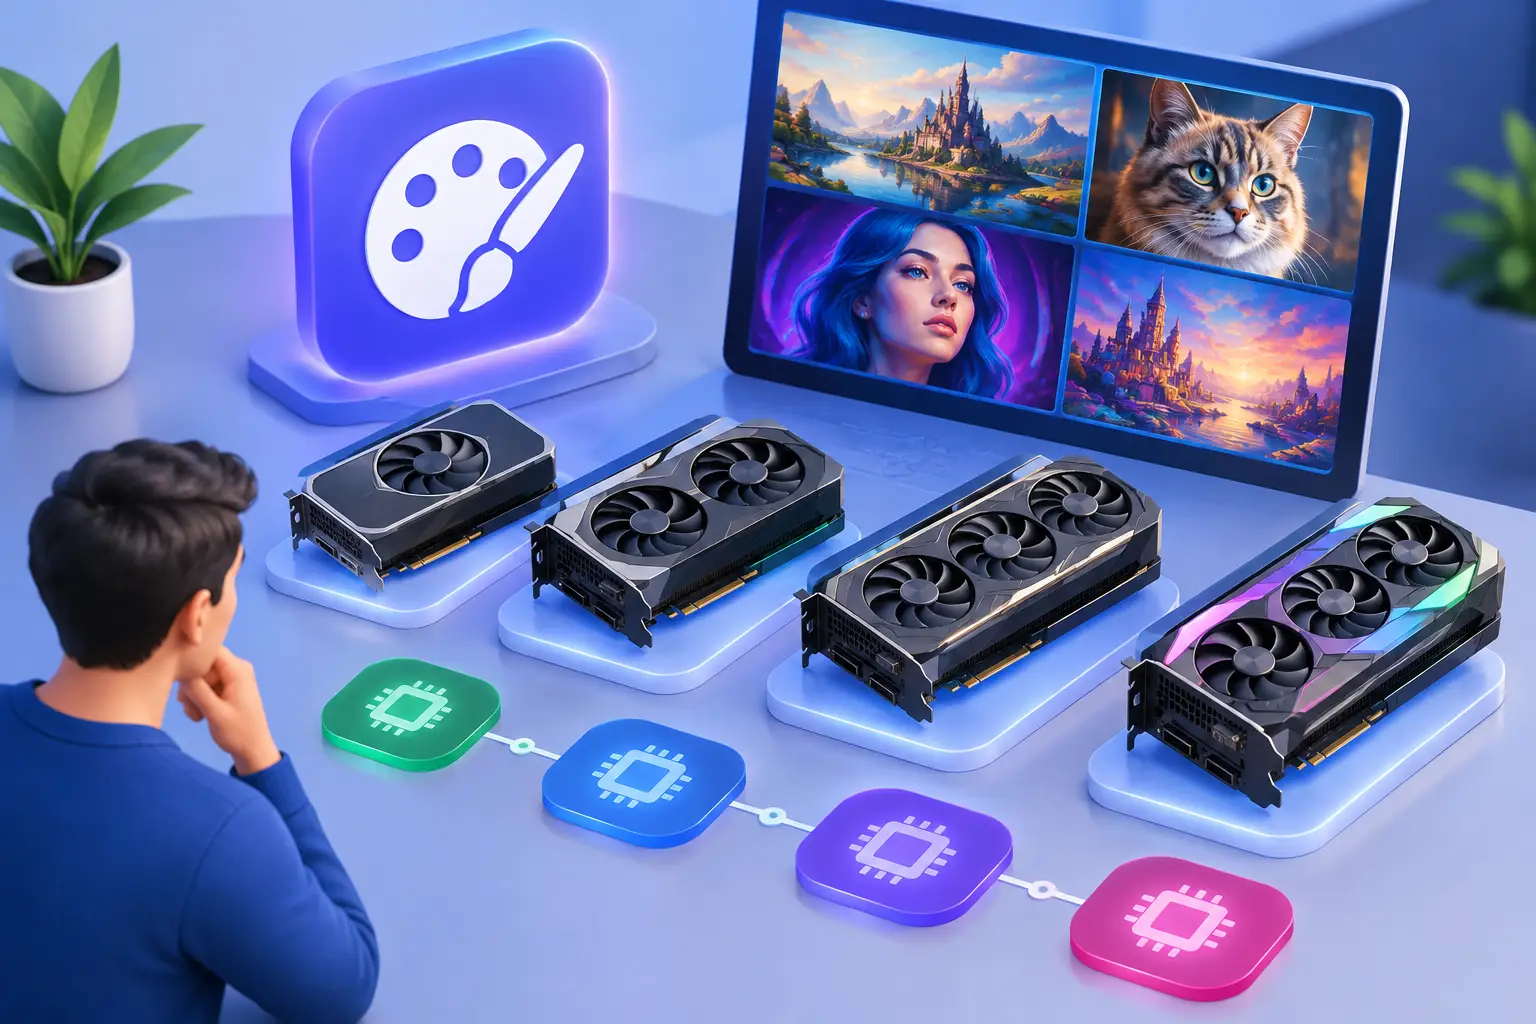
1. Choose the right specs for your games
Don't pick a machine based on vague "future-proofing" — in cloud gaming that usually means paying for performance you won't use. Match the machine to your actual games and resolution target.
| Play style | What you need |
|---|---|
| Esports titles, lighter multiplayer, older AAA at 1080p | Entry-tier config is enough |
| Newer demanding games, heavy mod packs | More CPU cores and RAM |
| Multitasking (Discord, Chrome, capture tools open) | Higher CPU/RAM tier |
| Open-world, strategy, or poorly optimized ports | Watch for CPU/memory bottlenecks, not just GPU |
Storage matters more than most first-timers think. Persistent SSD storage keeps your games, saves, launchers, and settings in place between sessions — unlike a disposable cloud desktop. If you rotate between several large games, budget enough storage up front so you're not constantly uninstalling 100 GB titles.
A gaming-focused provider like SensePC is built for this specifically, with dedicated NVIDIA GPU options, persistent storage, and usage tiers that scale with how often you play.
2. Get your local device ready
Your local hardware doesn't need to be powerful, but it needs to be stable — it's decoding the stream and handling your input, not rendering the game.
- Update your OS, graphics drivers, and browser or client app
- Close bandwidth-heavy apps (cloud backup, large downloads, video calls, streaming services)
- Use a wired connection if possible
- If Wi-Fi is your only option, use strong 5 GHz or Wi-Fi 6 — not a weak signal from across the house
Cloud gaming is less about raw top-end speed and more about consistency. A connection that fluctuates wildly feels worse than a slower one that stays stable.
3. Provision the machine and connect
Once you pick a plan and storage, the cloud PC is usually provisioned automatically — a few minutes on a gaming-first platform, not hours. Then connect through the service's client and log into your Windows desktop.
Check that you're using the platform's low-latency performance mode, not a generic remote desktop protocol. Standard office remote tools are fine for spreadsheets and poor for games — a proper gaming stream needs smooth frame delivery, responsive mouse input, and solid full-screen handling.
Set your Windows display resolution to match the screen you'll actually use. Forcing a higher resolution than your local screen wastes resources and bandwidth without improving your experience. On a larger monitor with a strong connection, 1440p may be worth the trade-off — the right call depends on the game, your connection, and whether you prioritize sharpness or lowest latency.
4. Install launchers, games, and core tools
Set the machine up like a normal gaming PC, with more discipline:
- Install the launchers you actually use (Steam, Epic Games Store, Battle.net, GOG, EA app)
- Log in and enable your usual security settings
- Keep it lean — skip utilities and overlays you don't need; extra startup apps and background processes still consume resources
- Install Discord, your preferred browser, and only the mouse/audio/controller tools you trust
- Keep game libraries on the persistent storage location so you're not reinstalling every session
- Enable cloud saves in each launcher where available, as a second layer of convenience if you switch devices
5. Tune for low latency and stable play
Test with a game you know well — fast shooters and racing games expose latency problems immediately. Turn off unnecessary overlays, then check stream settings for bitrate, resolution, and frame rate if the platform allows adjustments.
Higher bitrate can improve image quality but demands more from your network. If you see macroblocking, softness, or frame pacing issues, don't assume the machine is underpowered — lowering stream resolution or bitrate slightly often gives a better real-world result. Responsiveness beats prettier compression in most competitive games.
In-game, tune for frame rate first. Ultra shadows, extreme ray tracing, and heavy post-processing often cost more than they're worth — high settings with stable delivery usually feel better than ultra settings with dips and hitching.
Test your controller, microphone, headset, and dual-monitor behavior before a session you care about. Better to solve it once than troubleshoot it every night.
Setup Checklist
- Choose a machine tier based on the games you play
- Add enough persistent SSD storage for your library
- Connect over wired or strong 5 GHz/Wi-Fi 6
- Switch to the low-latency streaming client
- Match display resolution to your actual screen
- Install only the launchers and apps you need
- Tune each game for stable frame rate over max settings
The Trade-Offs to Know Before You Commit
A cloud gaming PC replaces hardware ownership with flexible access — often the better deal, but not magic. Your experience depends on internet quality and proximity to the data center; no amount of backend GPU power fixes an unstable connection.
Billing model matters too. Play a few nights a week and hourly or session-based billing is usually smarter than buying a premium PC outright. Play heavily every day, and a monthly plan may make more sense. Either way, you're paying for access to performance when you want it — not for idle hardware sitting under a desk.
How long does it take to set up a cloud gaming PC?
On a gaming-first platform, provisioning usually takes a few minutes. From sign-up to launching a game is typically under 10 minutes once your connection and specs are set.
Do I need a gaming laptop for cloud gaming?
No. Your local device just needs to decode the video stream and handle input smoothly — a basic laptop, Mac, cloud gaming PC guides or older desktop works fine. The rendering happens on the remote GPU, not your machine.
What internet speed do I need to set up a cloud gaming PC?
Consistency matters more than top-end speed. A stable wired connection or strong 5 GHz/Wi-Fi 6 signal will outperform a faster but fluctuating connection.
Should I max out graphics settings on a cloud gaming PC?
No — tune for frame rate first. High settings with stable delivery generally feel better than ultra settings with dips or hitching, especially in fast-paced or competitive games.
Can I keep my games installed between cloud gaming sessions?
Yes, if the platform offers persistent SSD storage. Your games, launchers, and saves stay in place between sessions instead of reinstalling every time.