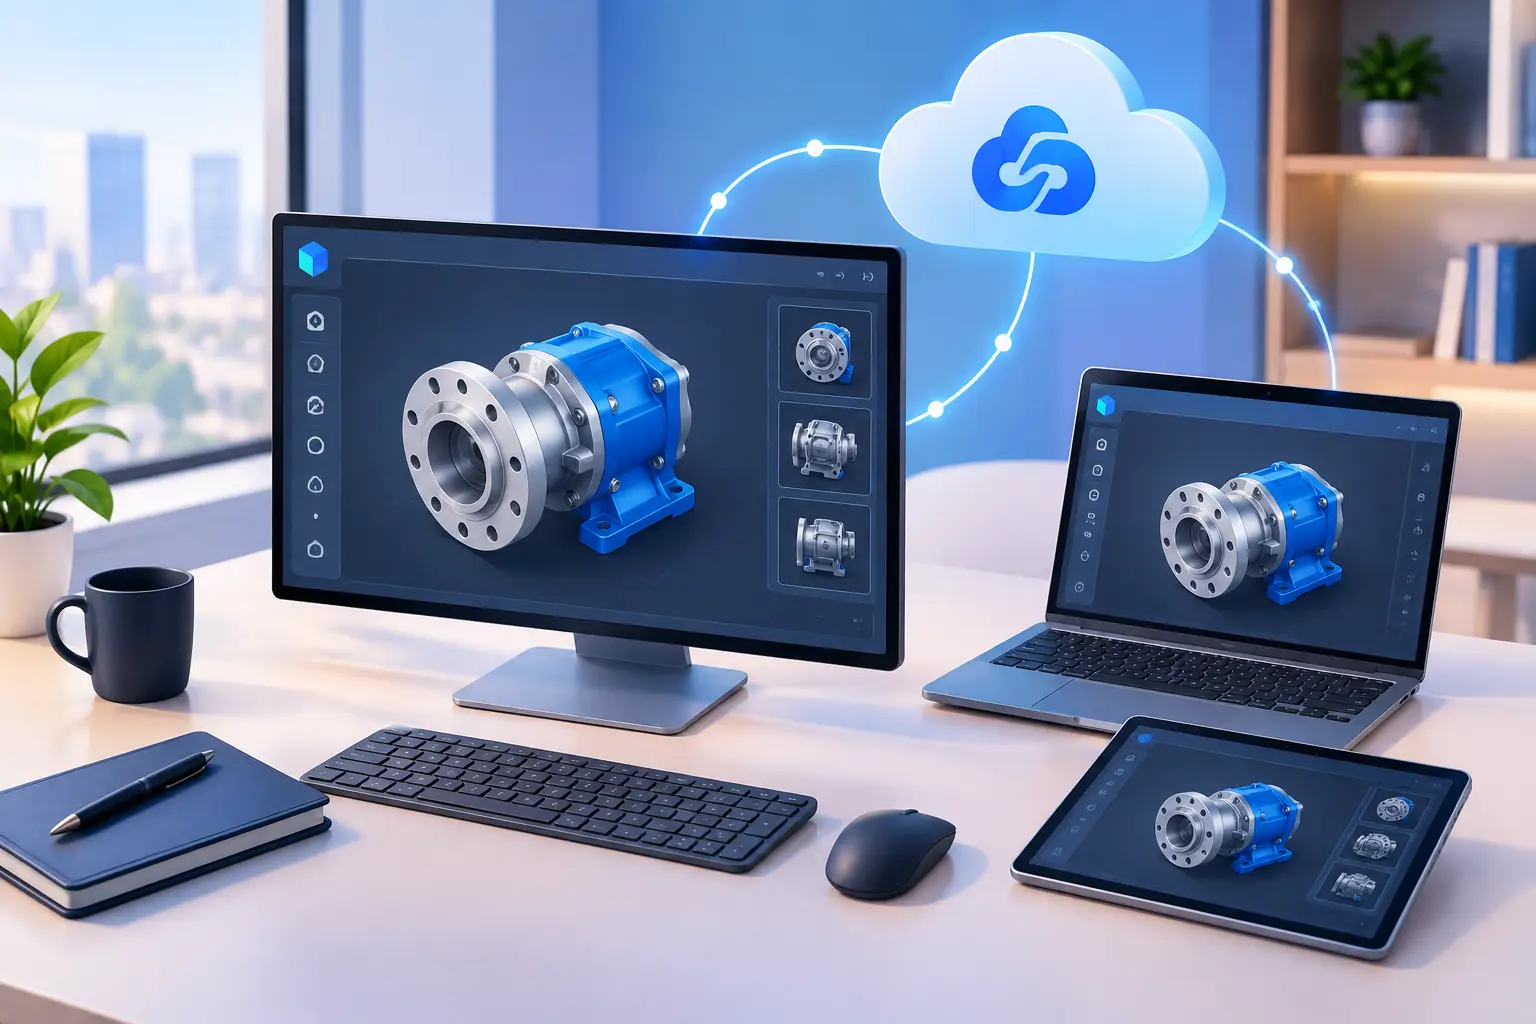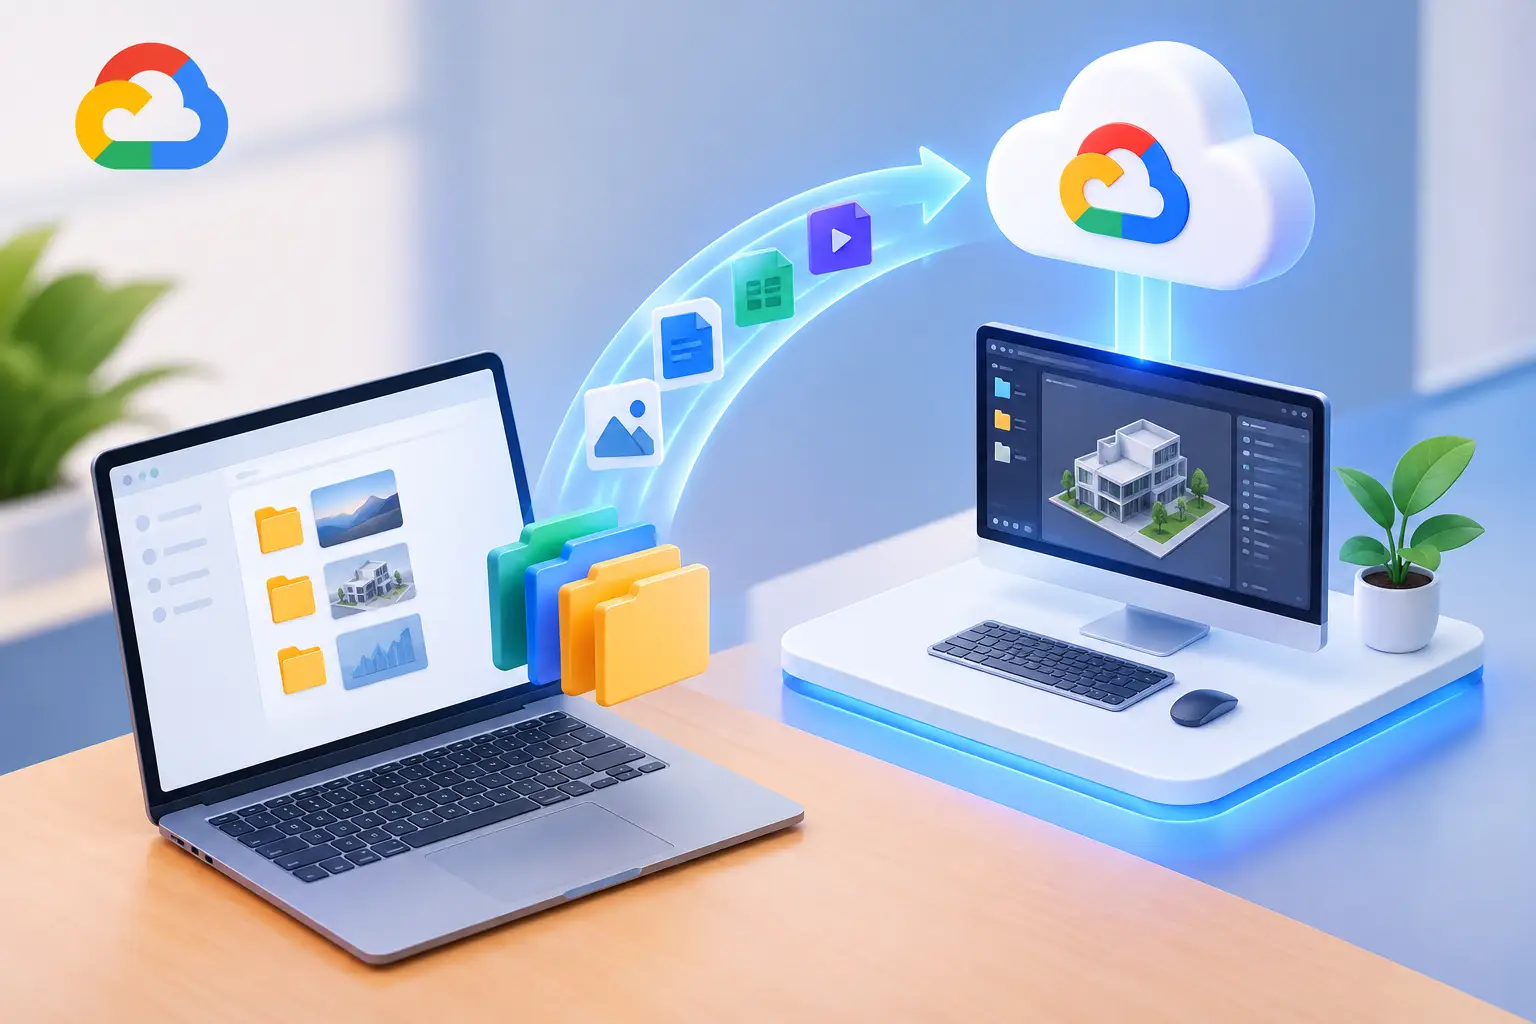
Short answer: To move a project to a cloud workstation, first inventory what the project needs (files, dependencies, licenses, settings), then move the active project with the right method (Git for code, cloud storage or direct upload for assets), reinstall the exact tool versions, store secrets securely, test a real workload before any deadline, and keep a separate backup. You can usually avoid a full reinstall by documenting your setup and scripting it, but a cloud Windows PC is a new machine, so applications need to be installed once.
A project can outgrow a laptop long before it is finished. Your codebase gets heavier, your video timeline starts stuttering, your 3D scene takes hours to render, or your local drive fills up with assets. When you move projects to a cloud workstation, the goal is not just more power. It is to keep your files, tools and working habits intact while gaining a stronger Windows machine when you need one.
That takes more than dragging a folder into cloud storage. A good migration plan accounts for source files, dependencies, licenses, settings, storage costs and the way you connect. Get those right, and you can work from a Mac, laptop, desktop or supported browser without carrying a high-end workstation everywhere.
The 6 Steps at a Glance
- Inventory the apps, versions, plugins, licenses and settings the project needs.
- Prepare the project: clean it up, document environment variables, package assets.
- Choose a transfer method that fits file size and how often files change.
- Set up the workstation to match the workload, then install exact tool versions.
- Test a real workload before you rely on it.
- Organize and back up: decide the source of truth and keep a separate backup.
Step 1: Decide What Should Move First
Not every file needs to move on day one. Start with the active project and the files required to open, build, edit or render it. This gives you a usable workspace quickly instead of turning migration into a week-long cleanup project.
| If you are a... | Move first |
|---|---|
| Developer | Repository, package files, environment notes, database backups, test data, local configuration that can't be recreated automatically |
| Video / 3D creator | Project file, source footage, proxy media, fonts, plugins, LUTs, export presets |
| AI / data user | Model files, notebooks, datasets, Python environments, workflow configurations |
Separate active files from archives. Large completed exports, old versions and raw assets you rarely touch can stay in lower-cost storage until needed. Persistent SSD storage on a cloud workstation keeps your active environment ready between sessions. It is not a reason to copy every forgotten folder from an old drive.
Before transferring anything, make a short inventory: applications and required versions, plugins, license details, folders that must stay synchronized, and hardware-dependent settings. This matters most when a project relies on older tools or specialized add-ons.
Step 2: Prepare Your Project for the Move
A clean local project is easier to move and easier to recover if something goes wrong. Update your project files, remove temporary exports and use clear folder names. If an editing project points to media spread across several drives, consolidate it before uploading.
Developers: Version control helps, but it does not replace a full migration plan. A Git repository restores source code, yet it may not include local secrets, large assets, databases, generated files or the exact SDK version needed to run the project. Store secrets securely and never place credentials in a repository or plain-text project folder.
Creators: Check linked assets. Missing fonts, external textures, plugins or media can make a project look very different on a new machine. Package the project when your application supports it, then open the package locally once to confirm it contains what you expect.
AI and GPU users: Record framework versions and setup commands. CUDA-related tools, Python packages and model dependencies can be sensitive to version changes. A simple text file with installation steps can save hours of troubleshooting.
How to preserve environment variables and dependencies
- List every environment variable the project reads, and where each value comes from. Keep real values in a password manager or secrets store, not in the repo.
- Commit a template file (for example,
.env.example) with variable names and no secrets. - Pin dependency versions with a lockfile (
package-lock.json,requirements.txtwith versions,poetry.lockor similar). - Export a list of installed tools and SDK versions, and write the setup commands as a script you can rerun.
- On the cloud workstation, install the same versions first, then run a clean build to confirm.
Step 3: Choose the Right Transfer Method
The best way to move projects depends on file size, how often files change and whether multiple people need access. No single method fits every workload.
| Method | Best for | Watch out for |
|---|---|---|
| Secure cloud storage upload / download | Documents, code, design files, moderate media libraries | Upload time on slow home connections |
| Git clone on the workstation | Code and active development | Doesn't carry secrets, databases or large binary assets |
| Git for code + separate storage for assets | Projects with both code and heavy assets | Keeping both in sync |
| Staged transfer (current assets and proxies first) | Very large creative projects | Archive transfers continue in the background |
Can I use GitHub to migrate? Yes. Clone the repository directly on the cloud workstation, then pull only the branches and assets you need. This keeps local and cloud environments organized without repeatedly moving the full project folder. Move secrets, databases and large assets separately.
Very large projects: Uploading terabytes of raw footage over a standard home connection can take longer than expected. Move current assets and proxies first, begin working, and let the less urgent archive transfer in the background.
Don't treat a sync folder as your only backup. Sync can copy deletions and mistakes as quickly as it copies useful changes. Keep a separate backup of important source files, especially before major edits or migrations.
Step 4: Build the Cloud Workstation Around the Workload
A cloud workstation should match the task, not just the biggest specification available. CPU-heavy compilation, large spreadsheets, simulation and multitasking benefit from more processor resources and memory. GPU-accelerated rendering, 3D applications, AI experimentation and supported creative tools benefit from dedicated GPU power.
SensePC provides persistent Windows 11 cloud PCs with tiered CPU and RAM options, dedicated NVIDIA L4 GPU configurations and persistent SSD storage. Applications, project folders and settings remain in place between sessions, so you are not rebuilding a temporary server every time you want to work.
Install your tools after the workstation is ready, then configure it as you would a physical PC: project folders, editor preferences, rendering cache location, development tools and storage paths. If you rely on a specific application version, install that exact version rather than assuming the newest release behaves the same way.
Step 5: Test Performance Before You Commit
Cloud workstation performance depends on both the remote machine and your connection. A powerful GPU helps with demanding workloads, but an unstable internet connection can still make remote work frustrating. Connection quality, distance from the infrastructure, display resolution and the application itself all affect the experience.
Test the work you actually do, not just how fast the Windows desktop appears:
- Developers: compile a real project, run debugging tools and confirm access to required services.
- Creators: scrub a real timeline, test playback and export a short segment.
- AI users: verify that your frameworks detect the GPU and the workflow runs as expected.
Use the first session as a test environment, well before a deadline. Performance Mode powered by NICE DCV is designed for responsive remote desktop use, but test it with your own network, peripherals and display. A wired connection is often more consistent than crowded Wi-Fi. If you need color-critical work, specialized hardware or extremely low-latency local interaction, a physical workstation may remain the better fit.
Step 6: Keep Local and Cloud Work Organized
Decide where the source of truth lives. If the cloud workstation is your primary environment, save active work there and back it up on a defined schedule. If you switch between local and cloud machines, use version control or a carefully managed sync workflow so you don't edit conflicting copies.
Name folders clearly and avoid vague locations such as "final," "final-new" or "final-really." A basic structure for source files, assets, exports, backups and documentation prevents confusion weeks later. Keep a note with application versions, plugin lists, configuration steps and recovery instructions, separate from project data. If you later change plans, create another machine or return to local hardware, you will have a clear path.
Keeping Project Data Secure After Migration
- Use strong, unique passwords and multi-factor authentication on every account tied to the workstation, your Git host and your cloud storage.
- Keep secrets out of repositories and plain-text files; use a password manager or secrets store.
- Install updates on the cloud Windows PC just as you would on a physical one, and only install software you trust.
- Share access deliberately, and remove access when a collaborator leaves.
- Keep an independent backup. Persistent storage is not a backup.
See what actually protects a remote Windows session for more.
Cloud Workstation vs. Buying Hardware
Buying a physical workstation makes sense if you use demanding software every day, need maximum local responsiveness, work with unusually large data sets or have limited internet quality. Ownership gives direct control and may be more economical over time for constant, predictable use.
A cloud workstation is a strong alternative when your need for performance changes week to week: a course, a contract, a release cycle, a render job or a new AI experiment. No expensive gaming rig, no upgrade cycle, and no second machine sitting unused between projects.
The practical advantage is control over commitment. With hourly, daily and monthly options, you choose access based on the job in front of you. That doesn't make it right for every project. It is another way to get serious Windows performance without a major hardware purchase first.
A successful move is measured by how quickly you can return to real work. Start with one active project, verify the workflow, keep a backup, and let the cloud workstation earn a larger role as your needs grow.
How do I move an existing project to a cloud workstation?
Inventory what the project needs, prepare and document it, transfer the active files (Git for code, cloud storage or direct upload for assets), install the exact tool versions on the workstation, and test a real workload before relying on it. On SensePC, the Windows 11 cloud PC keeps your project folders and settings on persistent SSD storage between sessions.
Can I transfer a project without reinstalling everything?
Usually not entirely, because a cloud workstation is a separate Windows machine. You can avoid repeating the work by writing your setup as a script or checklist, pinning dependency versions and keeping installers and license details on hand. After the first setup on a persistent cloud PC, the installed applications stay in place.
What is the easiest way to upload project files to the cloud?
For small to moderate projects, upload to secure cloud storage, then download into your project folder on the workstation. For code, cloning the repository directly on the workstation is easier and keeps history intact.
Can I use GitHub to migrate projects to a cloud workstation?
Yes. Install Git on the workstation, authenticate, and clone the repository. Move secrets, databases and large binary assets separately, because they usually aren't in the repo.
How do I transfer a GitHub project to a cloud environment?
Clone it on the cloud workstation, check out the branch you need, restore your environment variables from a secure source, install dependencies from the lockfile, and run a clean build.
How do I preserve environment variables and dependencies during migration?
Document every variable, keep real values in a password manager or secrets store, commit a template file without secrets, pin dependency versions with lockfiles, and script the setup commands. Install the same tool versions first, then run a clean build to verify.
Which cloud workstation is best for developers?
It depends on the workflow. Browser-based cloud IDEs suit lightweight, Linux-oriented development. A cloud Windows PC such as SensePC suits developers who need Windows tools, desktop IDEs, GPU access for AI work or a persistent full desktop. See choosing a cloud development platform.
How much does a cloud workstation cost per month?
Cost depends on the CPU, RAM and GPU configuration and how many hours you use. SensePC offers hourly, daily and monthly options, so occasional users can pay for only the time they need. Check the current pricing page for exact rates.
Is a cloud workstation better than a local computer?
Not always. It fits variable workloads, remote access and users without high-end hardware. A local workstation can be better for all-day heavy use, unusually large local data sets, color-critical work or unreliable internet.