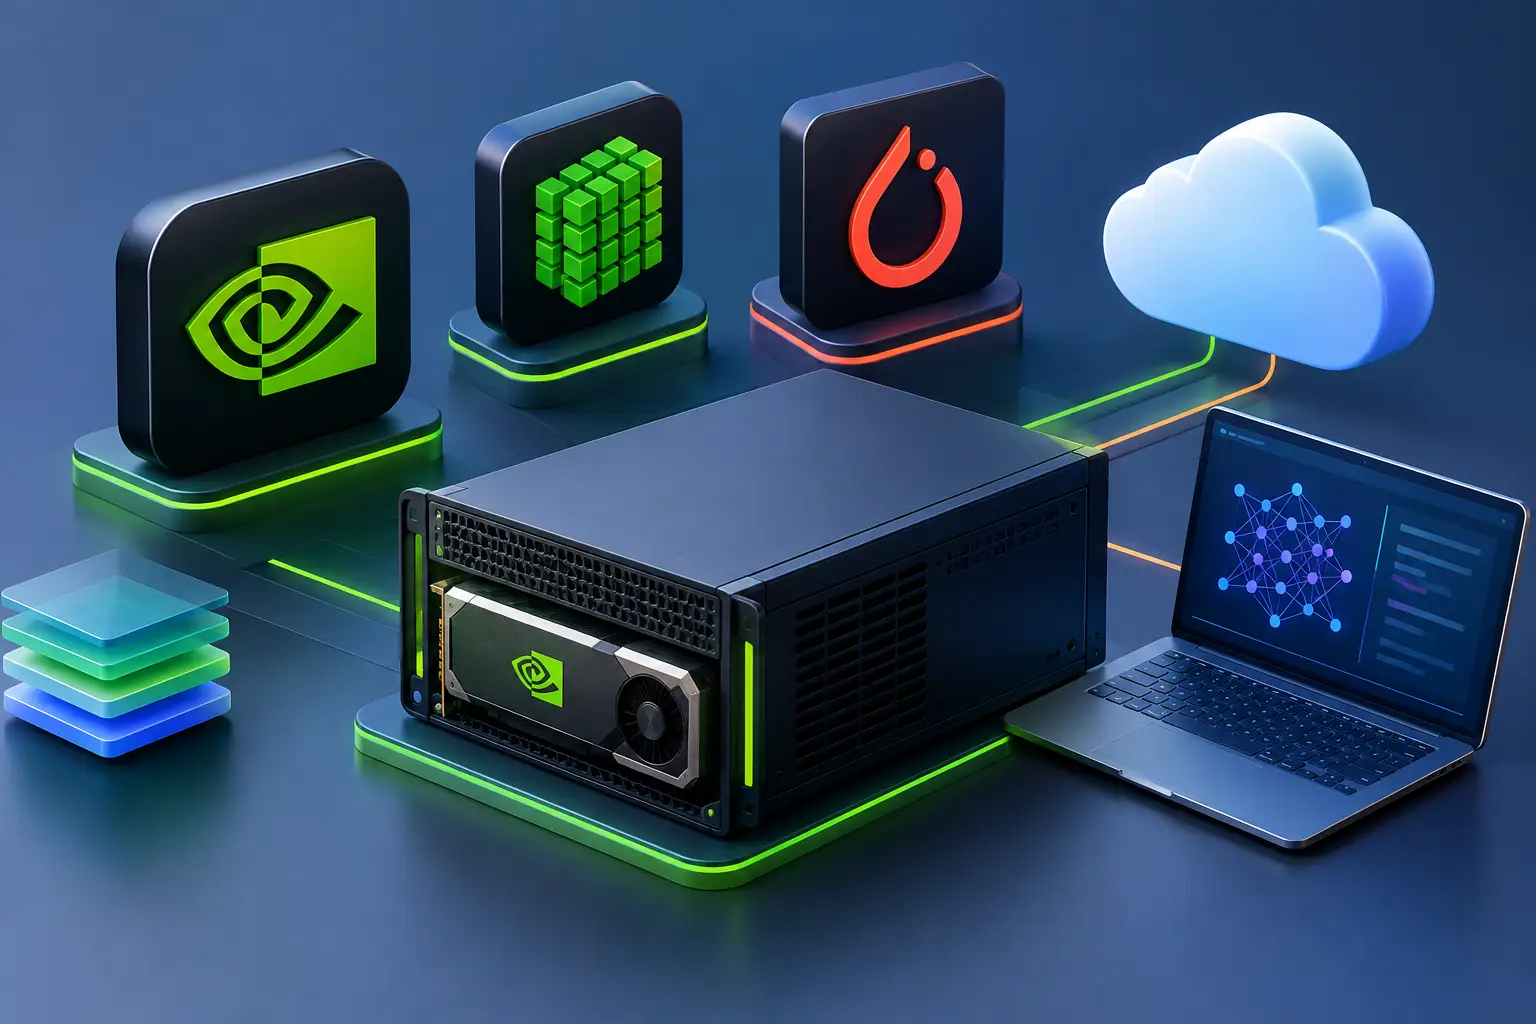
To use PyTorch on an NVIDIA L4 cloud PC, confirm the GPU with nvidia-smi, create a Python virtual environment, install a CUDA-enabled PyTorch build, and check that torch.cuda.is_available() returns True. You usually do not need the full CUDA Toolkit, because PyTorch's CUDA builds bring their own CUDA libraries. You need the toolkit only for nvcc or custom CUDA code.
| Question | Short answer |
|---|---|
| Do I need the CUDA Toolkit to run PyTorch on the GPU? | Usually no. You need an NVIDIA driver. Install the toolkit for nvcc or custom CUDA code |
Why might pip install torch give no GPU on Windows? | Windows has historically received a CPU-only build from the default index. Use PyTorch's CUDA index URL |
| How do I pick the CUDA build? | Choose a build whose CUDA version is not higher than the "CUDA Version" shown by nvidia-smi |
| What is the NVIDIA L4? | An Ada Lovelace data-center GPU with 24 GB of memory |
| Does every SensePC plan have a dedicated L4? | No. Xtreme and AI Dev plans use a dedicated L4. Standard plans share one |
| Can I use CUDA on a Mac? | Not natively. A Mac can connect to a cloud PC that has an NVIDIA GPU |
What you need before you start
- A SensePC cloud PC with a dedicated NVIDIA L4. That means an AI Dev or Xtreme plan. See pricing for current plans and billing. Check the FAQ for the differences between plans.
- A stable connection to the remote desktop. The CUDA work runs on the cloud PC, not on your laptop or Mac.
- A current 64-bit Python that your PyTorch release supports
The NVIDIA L4 is an Ada Lovelace GPU with 24 GB of memory, a 72 W power limit and PCIe Gen4, according to PNY's product page. Its compute capability is 8.9. It is a data-center GPU built for inference, video and moderate training and fine-tuning, not a top-end training card. Check your model's memory needs before you commit (see our AI developer guide).
Step 1: Confirm the L4 is visible
Open PowerShell or Windows Terminal on the cloud PC and run:
nvidia-smiYou should see the driver version, a "CUDA Version" figure and an NVIDIA L4.
- The "CUDA Version" in the top right is the highest CUDA version your driver supports. It is not proof that the CUDA Toolkit is installed.
- If the command isn't recognized or no GPU appears, restart the cloud PC. If it still fails, contact SensePC support before spending time on Python.
Step 2: Decide whether you need the CUDA Toolkit
| You want to... | Install the CUDA Toolkit? |
|---|---|
| Train or run models with PyTorch, Jupyter or common libraries | Usually no. PyTorch CUDA builds include the CUDA runtime libraries they need |
Use nvcc, build a custom CUDA extension, compile a research project or write CUDA C++ | Yes |
If you install it, download it from NVIDIA's CUDA Toolkit page and keep its version aligned with your driver and the build your project specifies. On Windows, nvcc also needs a supported Microsoft C++ compiler (Visual Studio Build Tools). After installing, open a new terminal and run:
nvcc --versionIf nvcc isn't found, close and reopen the terminal so Windows picks up the updated PATH.
Step 3: Create a clean Python environment
Don't install machine learning packages into the global Python install.
mkdir l4-pytorch
cd l4-pytorch
python -m venv .venv
.\.venv\Scripts\Activate.ps1
python -m pip install --upgrade pip
If PowerShell blocks the activation script, use Command Prompt instead:
.venv\Scripts\activate.batStep 4: Install a CUDA-enabled PyTorch build
Use the command from PyTorch's install selector for the current version. For Windows with CUDA it takes this form:
pip install torch torchvision --index-url https://download.pytorch.org/whl/<CUDA_TAG>PyTorch's previous-versions page lists cu126, cu130 and cu132 for v2.14.1, and a cpu option for CPU-only builds : tags change by release]. For example, for CUDA 13.0:
pip install torch torchvision --index-url https://download.pytorch.org/whl/cu130Choosing the tag: pick one whose CUDA version is not higher than the "CUDA Version" in your nvidia-smi output. If nvidia-smi shows a lower version than the tag you want, update the NVIDIA driver or choose a lower tag. Add torchaudio only if your project needs it, using the same index URL.
Avoid a CPU-only build. Installing with plain pip install torch on Windows has historically given a CPU-only package, which is why the index URL matters. Step 5 tells you which build you got.
Optional tools:
pip install jupyterlab numpy pandas matplotlibStep 5: Verify PyTorch can use the L4
Create check_gpu.py:
import torch

print("PyTorch:", torch.__version__)
print("CUDA available:", torch.cuda.is_available())
print("PyTorch CUDA build:", torch.version.cuda)

if torch.cuda.is_available():
    print("GPU:", torch.cuda.get_device_name(0))
    print("Compute capability:", torch.cuda.get_device_capability(0))
    free, total = torch.cuda.mem_get_info()
    print(f"VRAM free/total: {free / 1e9:.1f} / {total / 1e9:.1f} GB")
Run it from the activated environment:
python check_gpu.pyYou want CUDA available: True and an NVIDIA L4 name. The "PyTorch CUDA build" number can differ from the CUDA Toolkit installed on Windows. That is normal, because PyTorch uses the CUDA runtime packaged with its own build. A None value for the CUDA build usually means a CPU-only package.
Step 6: Run a short GPU test
import time
import torch

x = torch.randn(4096, 4096, device="cuda")
y = torch.randn(4096, 4096, device="cuda")

torch.cuda.synchronize()
start = time.perf_counter()
z = x @ y
torch.cuda.synchronize()
elapsed_ms = (time.perf_counter() - start) * 1000

print(z.device, f"{elapsed_ms:.1f} ms (first call includes warm-up)")
The device should print as cuda:0. While the script runs, nvidia-smi in a second terminal should list Python as a GPU process. This is a sanity check, not a benchmark.
If CUDA is not available
| Check | What to do |
|---|---|
nvidia-smi shows no GPU | Restart the cloud PC, then contact SensePC support |
| Wrong plan | Confirm your plan has an NVIDIA L4 (AI Dev or Xtreme) |
| CPU-only PyTorch | torch.version.cuda prints None. Reinstall with the CUDA index URL |
| Environment not active | The prompt should show (.venv). Activate it and run again |
| CUDA tag newer than your driver supports | Update the driver or choose a lower tag |
| Conflicting packages | Delete .venv and recreate it. This is usually faster than repairing it |
Keep the environment ready for your next session
Your cloud PC has persistent storage, so your code, notebooks, model files and virtual environment stay when you return. A few SensePC billing and storage rules matter for developers:
- Disconnecting does not stop the PC. It keeps running and billing. Stop ends Hourly compute billing, but the SSD stays billable.
- Deleting a PC is permanent.
- A stopped PC with no wallet funds for more than 3 days can be terminated, and its disk can't be recovered. Back up important work to Sense Cloud or your own storage.
Record what you installed so you can rebuild quickly:
pip freeze > requirements.txtAlso save the exact PyTorch install command, including the index URL, in a README, because requirements.txt alone won't tell a new environment which PyTorch index to use.
For occasional coursework, prototyping or model tests, an L4 cloud PC can avoid buying and maintaining a GPU workstation. For heavy daily or long-running workloads, compare your expected hours against the cost of owning hardware.
Ubuntu users: the same flow applies with python3 -m venv .venv and source .venv/bin/activate, then the same pip install and the same check script.
1. How do I install PyTorch with CUDA on a SensePC L4 instance?
Run nvidia-smi to confirm the L4 and driver, create a virtual environment, then install PyTorch using the CUDA index URL from PyTorch's install selector. Finish by running a short script that prints torch.cuda.is_available() and the GPU name.
2. Do I need to install the CUDA Toolkit to use PyTorch?
Usually not. PyTorch's CUDA builds include the CUDA runtime libraries they need, so a recent NVIDIA driver is enough for training and inference. Install the toolkit if you need nvcc, custom CUDA extensions or CUDA C++.
3. Why does pip install torch not use my GPU on Windows?
Plain pip install torch on Windows has historically installed a CPU-only build. Use PyTorch's CUDA index URL from the install selector, then check that torch.version.cuda is not None and torch.cuda.is_available() is True.
4. Which CUDA version should I choose for an NVIDIA L4?
Choose a PyTorch build whose CUDA version is not higher than the "CUDA Version" shown by nvidia-smi. The L4 is an Ada Lovelace GPU, which CUDA 11.8 and later support. PyTorch's builds currently on its previous-versions page use tags such as cu126, cu130 and cu132.
5. What is the difference between the CUDA version in nvidia-smi, nvcc and PyTorch?
nvidia-smi shows the highest CUDA version the driver supports. nvcc --version shows the installed CUDA Toolkit, if any. torch.version.cuda shows the CUDA runtime bundled with your PyTorch build. They can legitimately differ.
6. How do I check if CUDA is installed?
Run nvidia-smi to check the driver and its supported CUDA version, nvcc --version to check for the toolkit, and python -c "import torch; print(torch.cuda.is_available())" to check that PyTorch can use the GPU.
7. How do I check my PyTorch version?
Run python -c "import torch; print(torch.__version__)" in your activated environment. There is no pytorch --version command.
8. Why is torch.cuda.is_available() False?
The usual causes are a CPU-only PyTorch build, a driver that doesn't support the CUDA build you installed, an inactive virtual environment, or no GPU assigned to the PC. Check nvidia-smi first, then torch.version.cuda, then recreate the environment.
9. Is pip install cudatoolkit a valid command?
No. cudatoolkit is a conda package, not a pip package. For PyTorch you don't need it. If you need nvcc, install the CUDA Toolkit from NVIDIA.
10. Do I need to install cuDNN separately for PyTorch?
Usually not, because PyTorch's CUDA builds include the libraries they need. A separate cuDNN install is mainly for building software from source or for projects that require a specific version.
11. What is the NVIDIA L4, and how much memory does it have?
The L4 is an Ada Lovelace data-center GPU with 24 GB of memory, a 72 W power limit and PCIe Gen4, per PNY's product page. It suits inference, video and moderate fine-tuning more than large-model training. Free memory shown inside Windows will be slightly under 24 GB.
12. Does every SensePC plan have a dedicated L4?
No. Xtreme and AI Dev plans use a dedicated NVIDIA L4 with 24 GB. Standard plans share an L4 with shared GPU memory. Check the FAQ before you buy if VRAM matters.
13. Can I run JupyterLab on the cloud PC?
Yes. Install it in your virtual environment with pip install jupyterlab, run jupyter lab, and open it in the cloud PC's browser. Your notebooks stay on the persistent SSD.
14. Should I use venv or conda?
This guide uses venv and pip, which need no extra tools. Conda also works for managing environments, but check PyTorch's current install page for the supported conda command, because PyTorch's packaging has changed.
15. How do I update or uninstall CUDA?
On Windows, uninstall the CUDA Toolkit from Apps, and install a newer version from NVIDIA's download page. Update the NVIDIA driver separately if needed. If PyTorch stops seeing the GPU afterward, recreate the virtual environment and reinstall with a matching tag.
16. Can I install an older version of PyTorch?
Yes. PyTorch's previous-versions page lists install commands by version and CUDA tag. Match the version to the CUDA tag and driver, and pin it in your README.
17. Does my work stay if I disconnect or stop the PC?
Your files and environment stay on the persistent SSD. Disconnecting leaves the PC running and billing. Stopping ends Hourly compute billing, but the SSD remains billable. Check the FAQ for the rules on your billing plan.
18. What happens to my files if I stop or delete the PC?
Stopping keeps the disk. Deleting is permanent. A stopped PC with no wallet funds for more than 3 days can be terminated, and its disk can't be recovered, so back up important work to Sense Cloud or your own storage.
19. Can I use WSL2 or Docker on a SensePC cloud PC?
SensePC has not tested this, and nested virtualization support on a cloud PC is not confirmed here. Ask SensePC support before planning around it.
20. Can I use CUDA on a Mac?
Not natively. CUDA needs an NVIDIA GPU, and current Macs use Apple GPUs. You can connect from a Mac to a cloud PC with an NVIDIA GPU. PyTorch also has a separate backend for Apple GPUs.